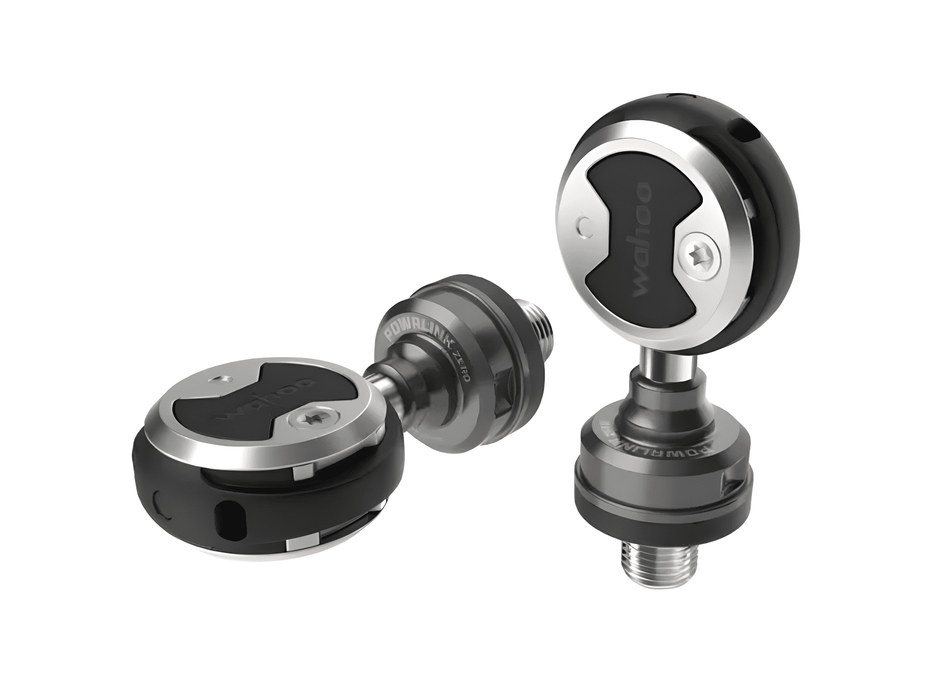
wahoo POWRLINK ZERO DUAL-SIDED POWER PEDALS
incl. FREE shipping & free returns

Changing bicycle pedals is a simple yet essential maintenance task that any cyclist can perform themselves. Whether it's for an upgrade, replacing worn pedals, or switching between clipless and platform pedals, with the right instructions, the transition is a breeze.
Von Vincent Augustin |
2 minutes read time

Changing bicycle pedals is a simple maintenance task that anyone can perform themselves. With the right tools, a little grease, and the right technique, the replacement is quick and easy. Regularly maintaining your pedals will ensure greater safety and enjoyment on your bike!

Before you start, make sure you have the right tools at hand. A well-equipped workstation makes work easier and prevents damage to the pedals or cranks.
Pedal wrench (15 mm) or Allen key (6 or 8 mm): Depending on the pedal model, you'll need either a flat pedal wrench or an Allen key. Some modern pedals only have an Allen key socket on the back of the axle.
Grease or assembly paste: To prevent the pedals from seizing in the thread, a thin layer of grease or assembly paste should be applied to the thread.
Rags or cleaning cloths: Old pedals can be very dirty. A thorough cleaning of the crank arms ensures that new pedals can be installed without any problems.
Penetrating oil (optional): If the old pedals are stuck, a little penetrating oil can help loosen the threads.
Torque wrench (optional): If you want to be on the safe side, you can use a torque wrench to tighten the pedals to the recommended torque (usually between 30-40 Nm).
Pedals are threaded differently:
Before installing the new pedals, clean the threads and apply grease or assembly paste. This prevents corrosion and makes it easier to remove later.
After changing the pedals, take a short test ride and check that the pedals are secure and turn easily.