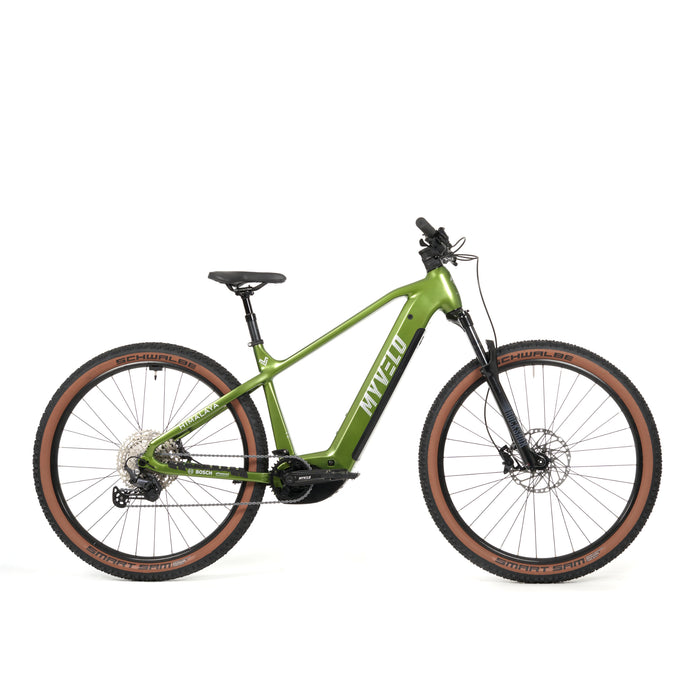
Himalaya E-MTB
incl. FREE shipping & free returns
📣 Only for a short time 200€ savings
📦 Delivery end of August

A dropper post is now standard equipment on many mountain bikes. Once you've ridden with a dropper post, you'll never want to be without it again – the benefits in safety, riding pleasure, and efficiency are enormous. But what if your mountain bike doesn't have one yet? No problem: A dropper post can be retrofitted in most cases. In this article, we'll show you what to look for, what options are available, and how to install one.
Von Fabian Huber |
2 minutes read time

Gone are the days when you had to dismount and manually lower the saddle before every trail section. The dropper post allows you to adjust the saddle height at the touch of a button while riding:
Saddle down: More freedom of movement and control downhill.
Saddle high: efficient power transmission when riding uphill.
Especially in technically demanding terrain, a dropper makes the difference – it is not a luxury, but a real safety feature.
Before you buy a dropper post, you should check whether your bike is suitable for it:
The dropper post must fit into the seat tube. Common diameters are:
27.2 mm
30.9 mm
31.6 mm
34.9 mm
Measure the inner diameter or look at the old support – the value is usually engraved there.
Not every dropper fits every bike. Important:
Total length and minimum insertion depth
Stroke (how much the support can be lowered – usually between 100 mm and 200 mm)
Body size, frame shape and the interior of the seat tube play a role here.
Internal (Stealth Routing): The cable runs inside the frame – elegant, but the frame must be prepared for this.
External routing: The cable is routed along the outside of the frame – easier to install and ideal for older frames.
Here is an overview of common models and what you should pay attention to:
| Model | Hub | laying | Special features |
|---|---|---|---|
| OneUp V2 | 120–240 mm | internal | extremely low installation height |
| RockShox Reverb | 100–175 mm | internal & external | well-known & robust |
| PNW Rainier | 125–200 mm | internal | good value for money |
| BikeYoke Divine | 125–185 mm | internal | high-quality workmanship |
| Brand-X Ascend | 105–170 mm | external & internal | cheap and solid |

A dropper post is operated via a handlebar lever, similar to a shift lever. Modern triggers can be integrated ergonomically. Keep in mind:
Compatibility with handlebar diameter
Easily accessible position, preferably on the left side (if single drive)
1. Remove old support
Take off the saddle, take out the seat post – done.
2. Install new droppers
Before inserting: apply some grease to the end of the pipe.
3. Install cable routing / cable
External: Route the cable along the frame and secure it.
Internal: Lead the cable through the frame – sometimes a bit fiddly, magnetic tools may be helpful.
4. Install the remote lever
Place on the handlebar and adjust to your own ergonomics.
5. Adjust & Test
Align the saddle, tighten everything, test the function – done!
Definitely!
A dropper post is one of the most useful upgrades for your mountain bike. It offers more control, more flow, and more safety – especially on challenging terrain. Retrofitting is easily done with a little DIY skill. And there's a solution to suit every budget – from €100 to over €400.
If your frame doesn't support internal cable routing, that's no problem! Many good dropper posts can be routed externally — ideal for older or classic hardtails.